How to practice real estate photography?
By Goda Stevens

How to practice real estate photography?
By Goda Stevens
Tips from professional real estate photographer
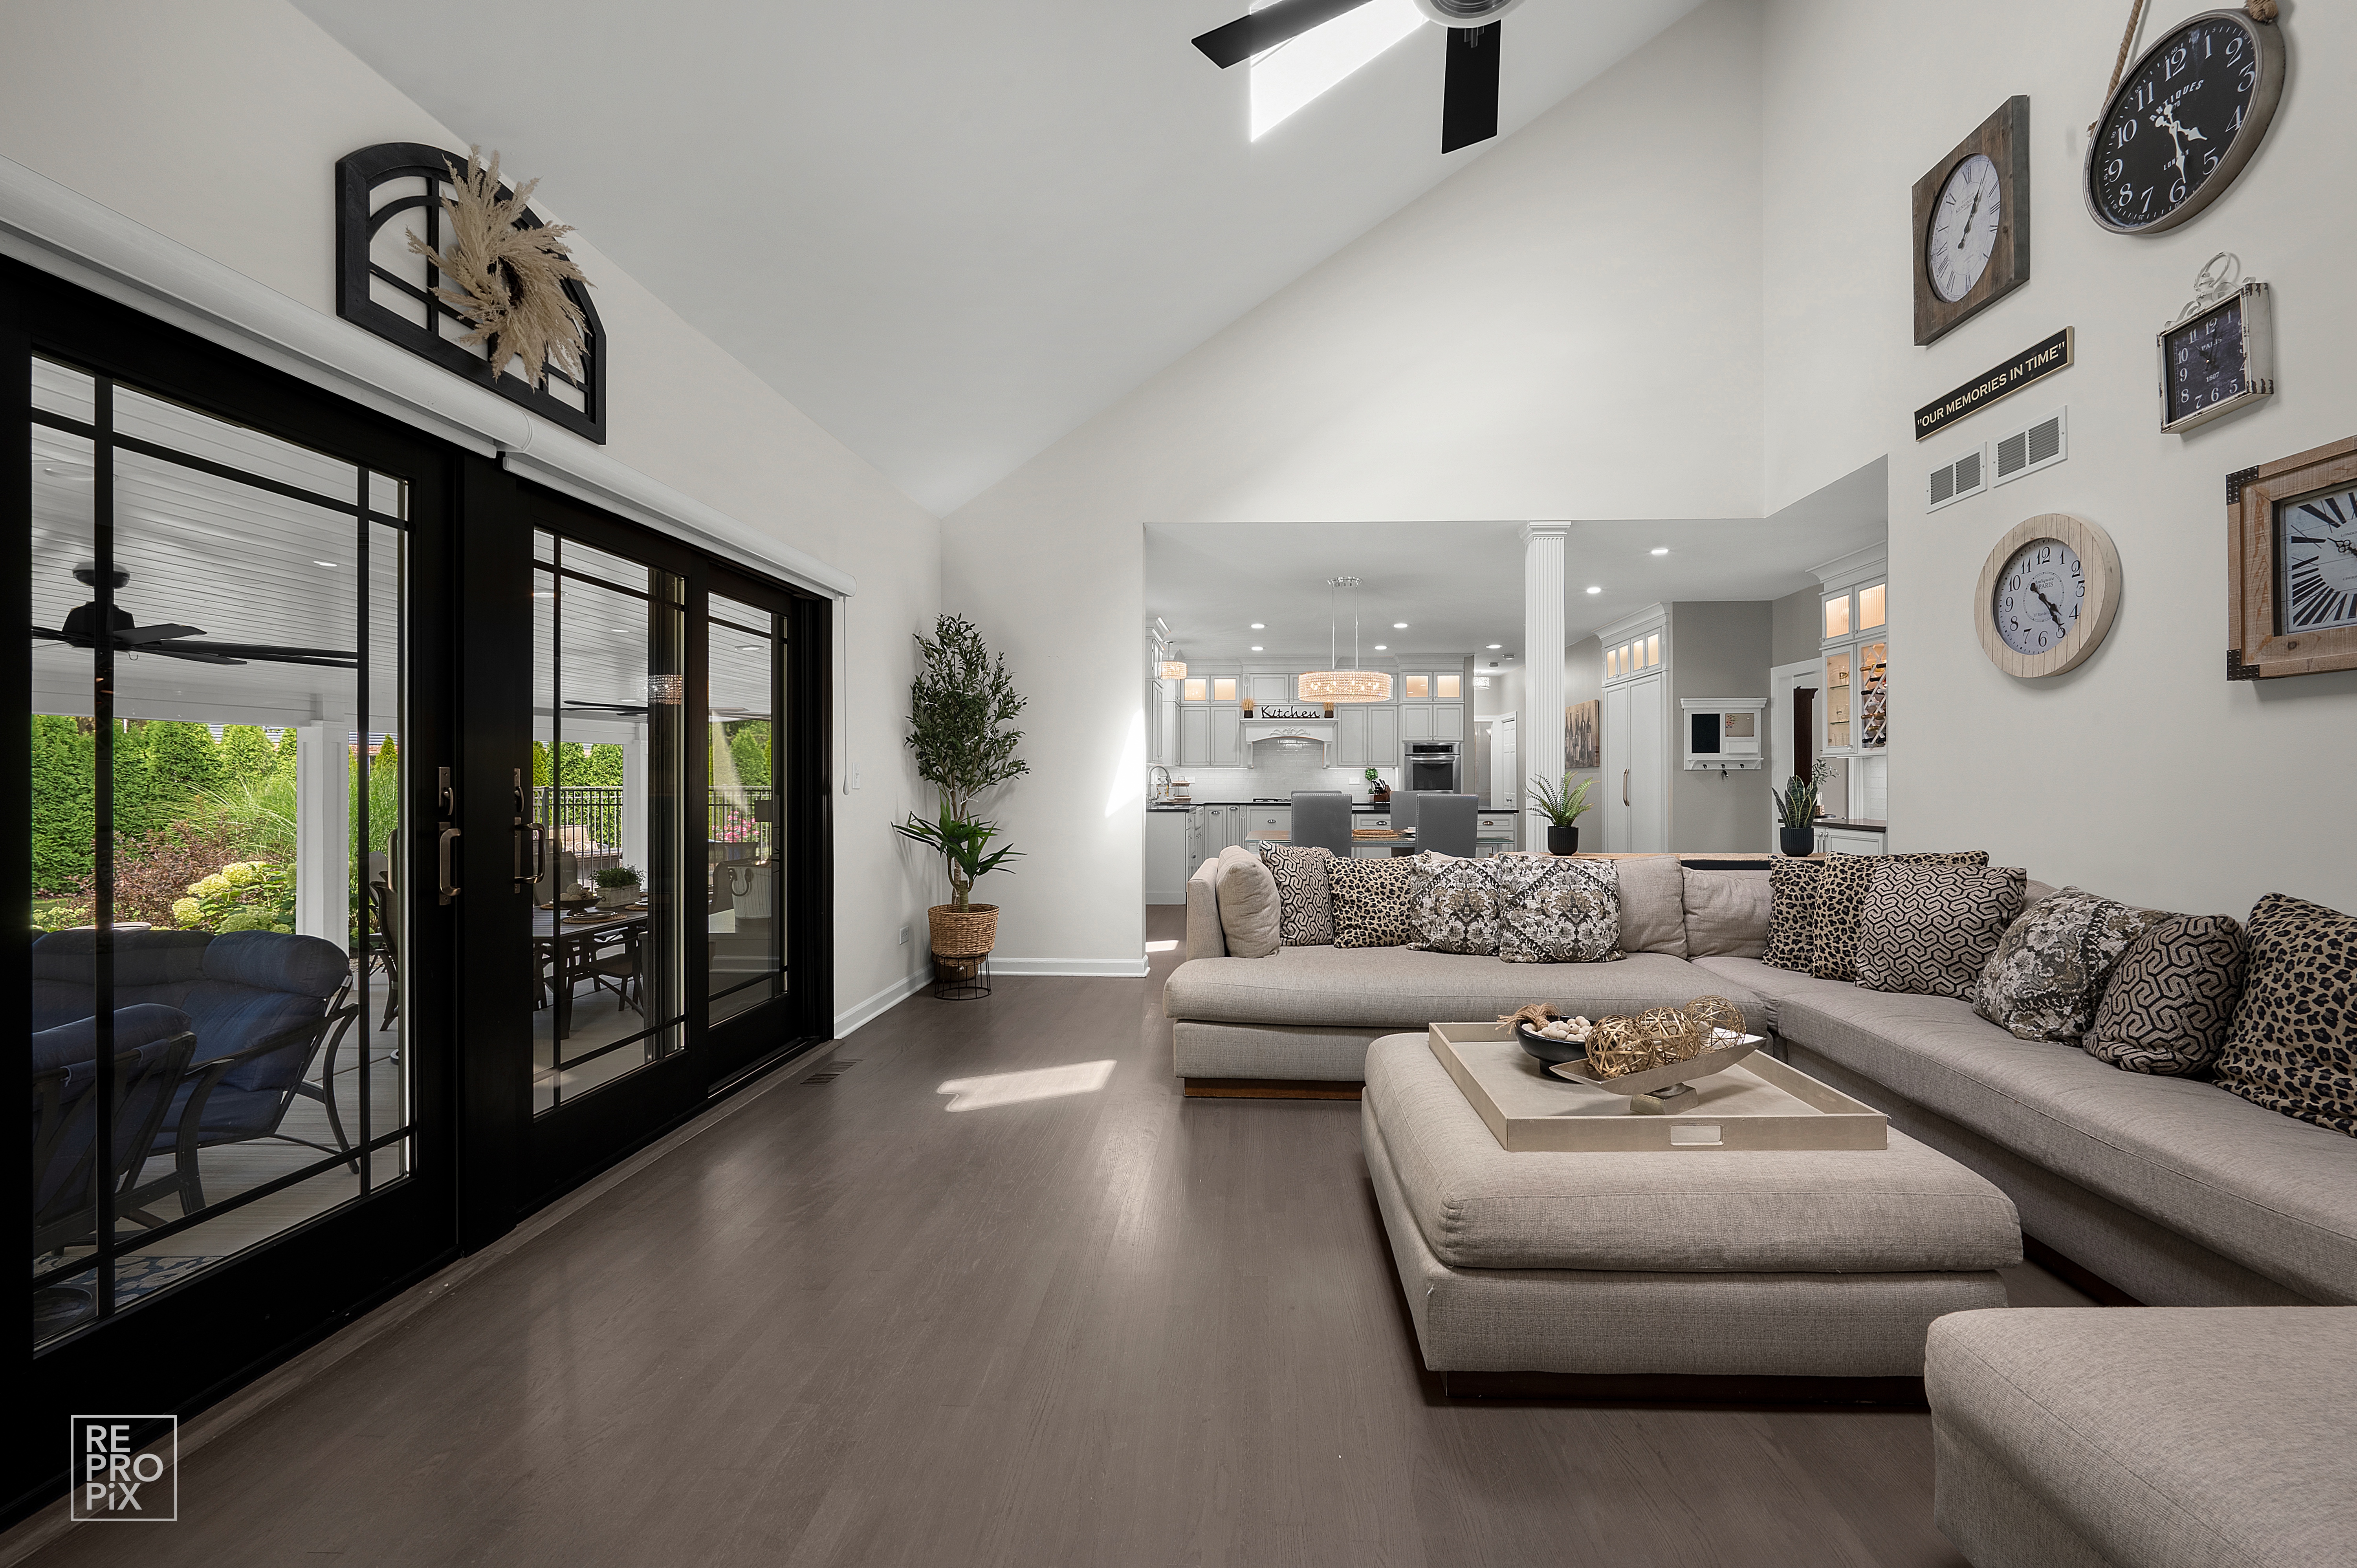
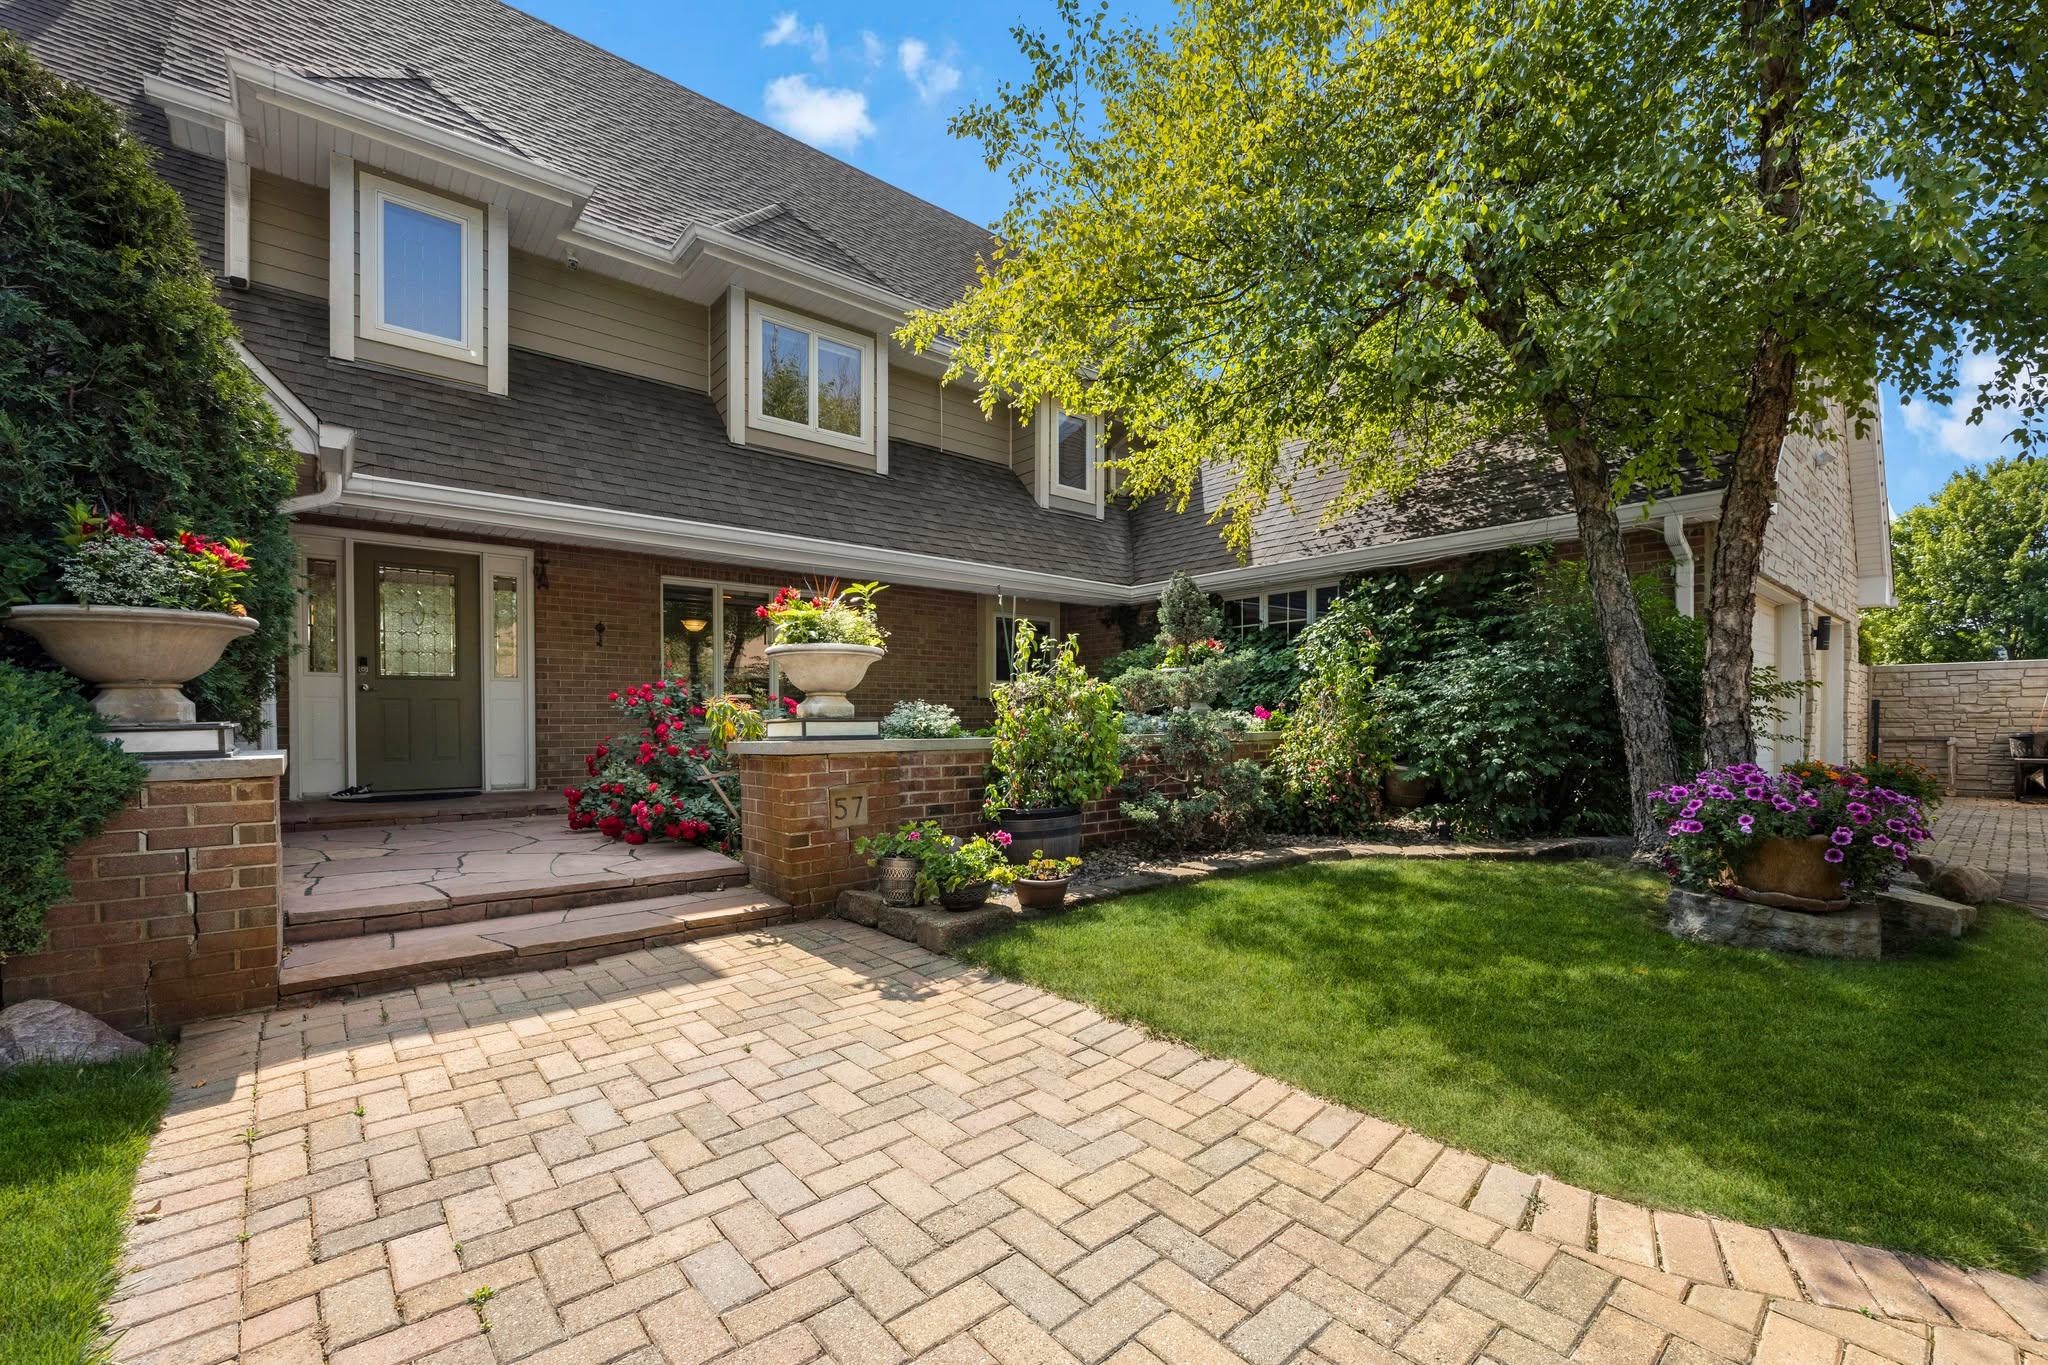
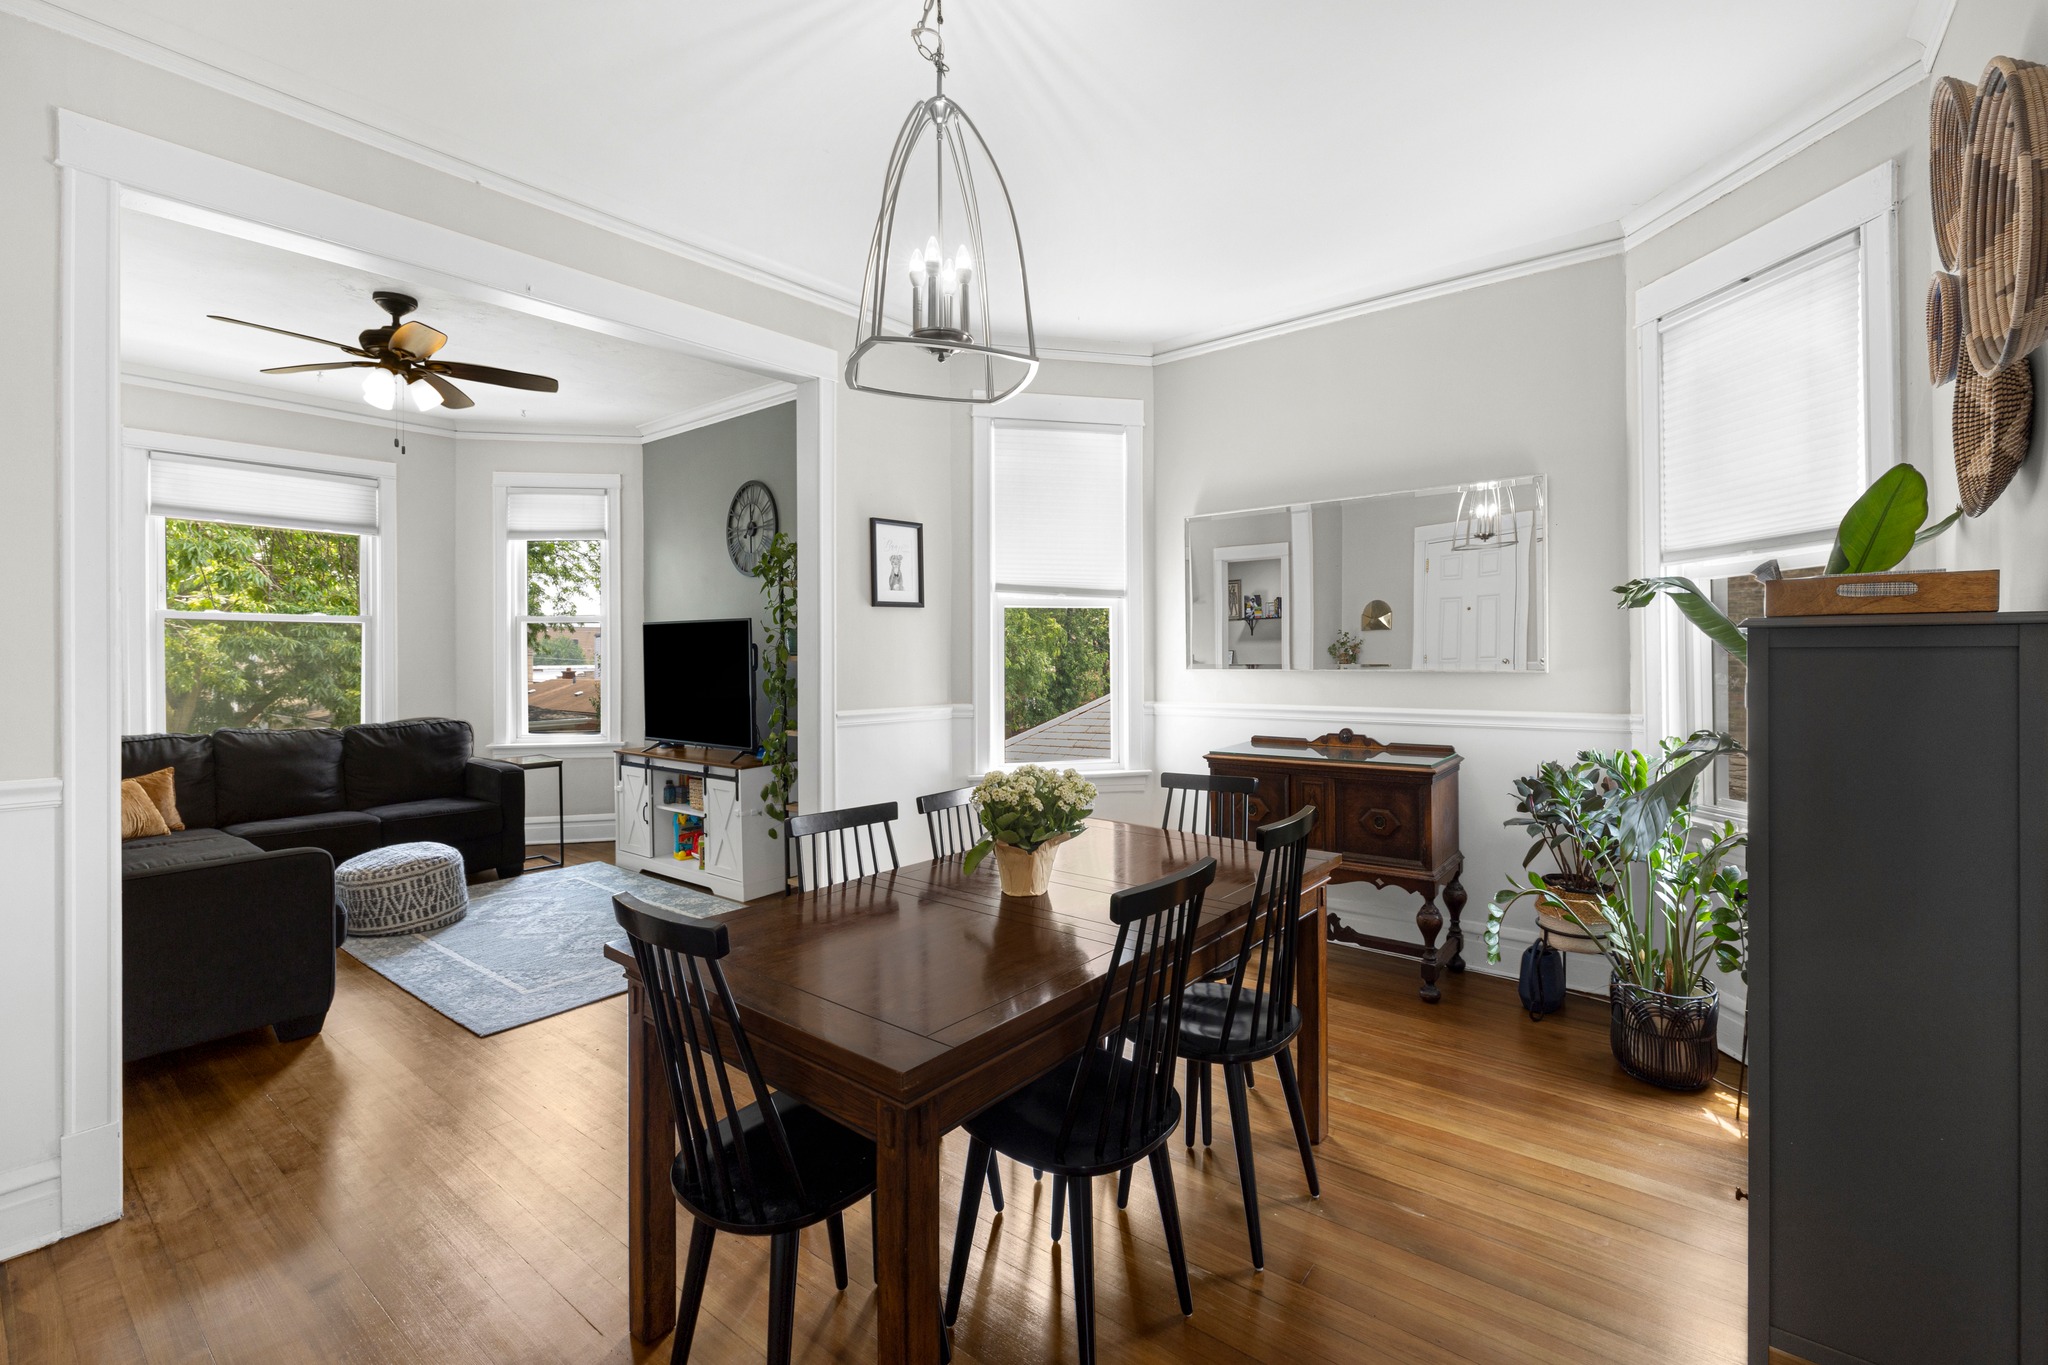
Real estate photography is a specialized type of photography that needs both technical skills and an understanding of the property market. I have been working as a real estate photographer in Chicago for a few years so I know how much knowledge this job requires. To be a successful real estate photographer, you need to know how to use light and composition to showcase a property in its best possible light. You also need to be familiar with the latest real estate trends and have a good understanding of what buyers are looking for. It can be hard at the beginning, but with hard work you can become a professional photographer. Wondering how to practice real estate photography? Here are some tips to help you get started in this industry.
1. Learn how to use your camera
First of all, you need to have some technical skills. If you’re new to photography, it’s important to learn how to use your camera before attempting to take photos of properties. Get familiar with the different settings and learn how to adjust them for different types of shots. Keep in mind that real estate photography often requires shooting in low light conditions. This means that it’s also important to know how to increase your camera’s ISO settings.
2. Visit properties before listing them for sale
Once you’ve been hired by a real estate agent or company, they’ll likely provide you with a list of properties that are about to go on the market. Visit each property beforehand and take note of anything that could potentially make a good photo.
Pay attention to things like:
– The direction of the light.
– Any interesting features or architectural details.
– Anything else that could make the property stand out.
3. Take your time
Real estate photography is all about taking your time and getting the right shot. Once you arrive at a property, take a few minutes to walk around and assess the best angle for each shot. Pay attention to things like the lighting, composition, and background elements like trees or power lines that could potentially ruin a photo. And don’t be afraid to move furniture around or remove items from shelves – sometimes it takes a bit of staging to get the perfect shot.
4. Edit your photos carefully
After you’ve taken all of your photos, it’s important to spend some time editing them carefully.
– Real estate photos should be bright and airy. Adjust the exposure and white balance accordingly.
– Remove any distractions from the background, including power lines or trash cans, and crop the photo if necessary.
– It’s also important to straighten any crooked shots and level horizon lines before publishing your final images.
In conclusion, real estate photography entails taking pictures of properties for the purposes of advertising and/or marketing. The photos are typically used in online listings, brochures, and other promotional materials. Real estate photography is different from other types of photography in a few key ways. First, the focus is on architecture and interiors rather than people. Second, the photos are often taken from specific angles and with specific lighting in order to showcase the property in its best possible light. Finally, real estate photography often requires the use of specialized equipment, such as wide-angle lenses and tripods. Remember – it’s important to keep practicing so you can become better at what you do. By following all these tips, you can start practicing real estate photography and begin building your portfolio today!
Contact us for stunning real estate visuals and follow us on Facebook for expert tips on how to practice real estate photography effectively.
Share This Post on Your favorite platform!
Other posts
Trusted by: